Embarking on a journey through Adobe Photoshop’s vast array of filters and effects can open up a world of creative possibilities. In this step-by-step guide, we’ll walk you through the process of applying and customizing Adobe Photoshop filters and effects, allowing you to transform your images into stunning visual masterpieces. Whether you’re a beginner or an experienced user, this guide will help you unleash the full potential of your artistic endeavors using Adobe Photoshop.
Step 1: Getting Started with Adobe Photoshop Filters
Understanding Adobe Photoshop Filters:
- Open your image in Adobe Photoshop.
- Navigate to the “Filter” menu to explore the diverse categories of filters available.
Applying Basic Adobe Photoshop Filters:
- Choose a basic filter, such as “Gaussian Blur” or “Sharpen,” and apply it to your image.
- Adjust the filter settings to observe the immediate impact on your photo.
Step 2: Exploring Artistic Adobe Photoshop Filters
Accessing the Adobe Photoshop Filter Gallery:
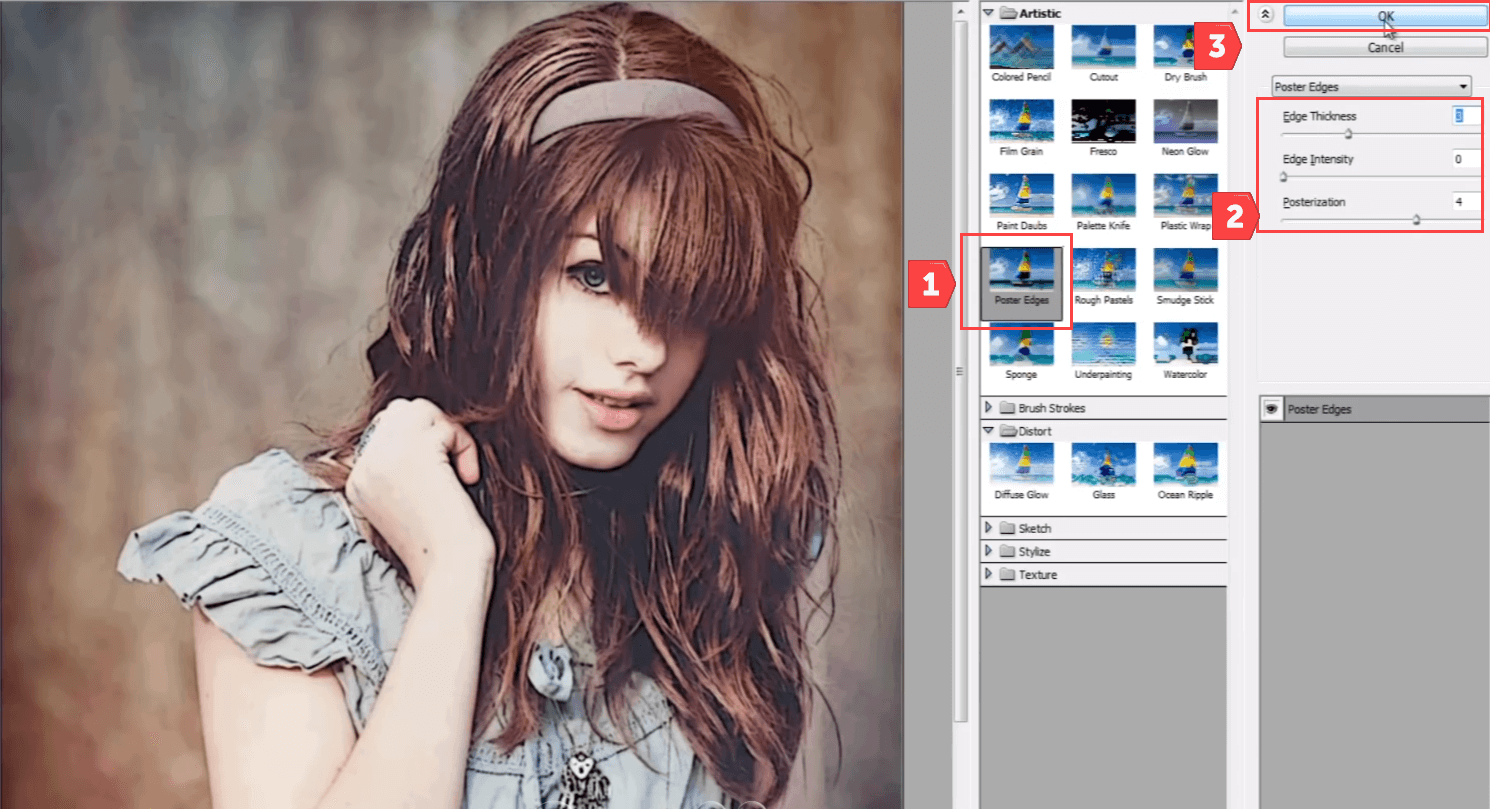
- Enter the “Filter Gallery” to explore artistic filters.
- Experiment with filters like “Dry Brush,” “Watercolor,” and “Palette Knife.”
Customizing Artistic Adobe Photoshop Effects:
- Fine-tune the settings of the chosen artistic filter to achieve the desired effect.
- Observe how each adjustment transforms the appearance of your image.
Step 3: Diving into Distortion Adobe Photoshop Filters
Introducing Distortion Adobe Photoshop Filters:
- Explore distortion filters such as “Liquify,” “Twirl,” and “Pinch.”
- Use these filters to create unique, abstract effects by manipulating the pixels in your image.
Real-Time Distortion in Adobe Photoshop:
- Experiment with the real-time distortion capabilities of the Liquify filter.
- Learn how to use tools like the Forward Warp tool for dynamic adjustments.
Step 4: Layer Effects for Depth and Style in Adobe Photoshop
Understanding Layer Effects in Adobe Photoshop:
- Create a new layer and add text or shapes.
- Access layer effects like “Drop Shadow” and “Bevel & Emboss.”
Applying Layer Effects in Adobe Photoshop:
- Experiment with different layer effects to add depth and style to your text or shapes.
- Adjust opacity, shadow angles, and other parameters for a customized look.
Step 5: Playing with Blend Modes in Adobe Photoshop
Blend Mode Basics in Adobe Photoshop:
- Create multiple layers with different images or textures.
- Explore blend modes like “Multiply,” “Screen,” and “Overlay.”
Customizing Blend Modes in Adobe Photoshop:
- Experiment with various blend modes to achieve creative combinations.
- Observe how each mode interacts differently with the underlying layers.
Step 6: Color Adjustments with Photo Filters in Adobe Photoshop
Introducing Photo Filters in Adobe Photoshop:
- Add a “Photo Filter” adjustment layer to your image.
- Choose a filter color to enhance or modify the overall color tone.
Fine-Tuning Photo Filters in Adobe Photoshop:
- Adjust the density and blending mode of the photo filter.
- Explore how photo filters can create mood and atmosphere in your images.
Step 7: Creating Vintage Vibes with Gradient Maps in Adobe Photoshop
Gradient Map Essentials in Adobe Photoshop:
- Add a “Gradient Map” adjustment layer to your image.
- Select a pre-existing gradient or create a custom one.
Customizing Gradient Maps in Adobe Photoshop:
- Experiment with gradient colors and stops to achieve vintage or cinematic looks.
- Adjust the blending mode and opacity for subtle or dramatic effects.
Step 8: Non-Destructive Editing Techniques in Adobe Photoshop
Working with Smart Objects in Adobe Photoshop:
- Convert your layers into smart objects for non-destructive editing.
- Explore how smart objects preserve the original image quality.
Applying Filters to Smart Objects in Adobe Photoshop:
- Apply filters to smart objects and observe the flexibility of non-destructive editing.
- Experiment with stacking multiple filters for intricate effects.
Step 9: Precision with Layer Masks in Adobe Photoshop
Understanding Layer Masks in Adobe Photoshop:
- Add a layer mask to a filtered layer for precision.
- Paint on the layer mask with black or white to reveal or conceal parts of the filter effect.
Selective Application of Filters in Adobe Photoshop:
- Use layer masks to selectively apply filters to specific areas of your image.
- Fine-tune the mask for seamless integration.
Step 10: Creating Custom Presets in Adobe Photoshop
Saving Custom Adobe Photoshop Filter Presets:
- Create a custom combination of filters and effects.
- Save your settings as a custom preset for future use.
Applying Custom Presets in Adobe Photoshop:
- Apply your custom preset to other images to maintain a consistent style.
- Modify the preset as needed for different projects.
Conclusion: Unleashing Your Creative Vision with Adobe Photoshop
Congratulations! You’ve navigated the diverse world of Adobe Photoshop filters and effects, unlocking a plethora of creative tools at your disposal. Whether you’ve transformed your images with artistic filters, added depth with layer effects, or played with color using gradient maps, the possibilities are endless. As you continue to explore and experiment, remember that Adobe Photoshop is a canvas for your unique artistic vision. So, dive into your next project, apply what you’ve learned, and let your creativity shine through the magic of Adobe Photoshop.


